|

|
|
|
Cheep Shot |
|
|
|
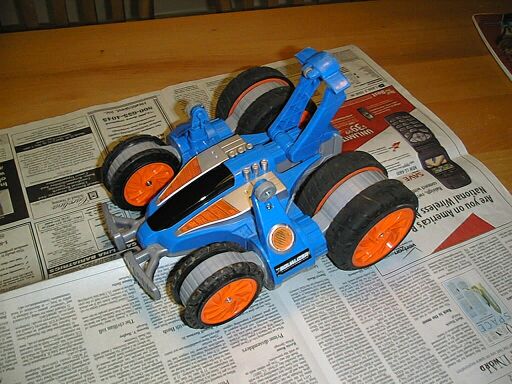
Mark Harrison has a 12lber named "Kung Fu Monk" and the breakdown of one of my sons RC toys has presented the opportunity to create another. This will be a
quick way to get him competeing until his Featherweight is ready. |
|
|
|
|
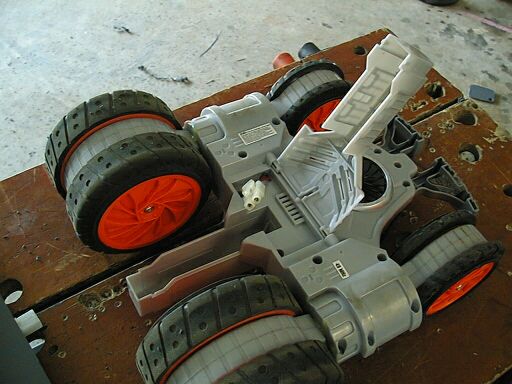
Andrew got this "Equalizer" tank steer RC car for Christmas. The first broke in a couple of days and the replacement lasted a couple of months. The
mechanism that turned the wheels sideways failed in both cases making it undrivable. the Car otherwise has excellent performance and weighs only 3lbs so we decided to rebuild it if possible
as a 12lb wedge. |
|
|
|
|
|
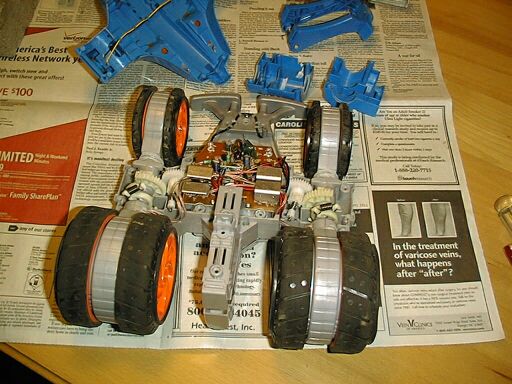
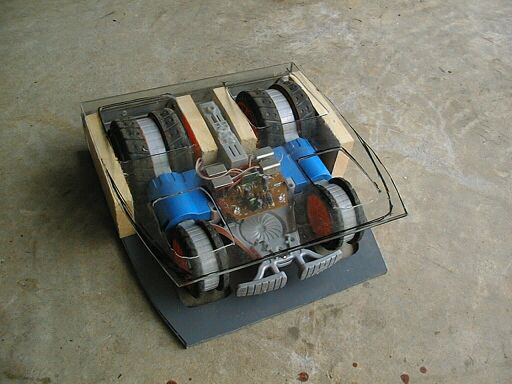
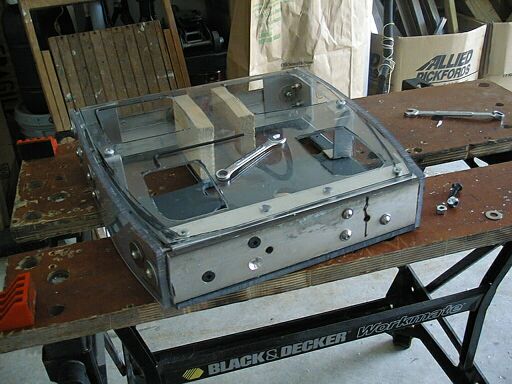
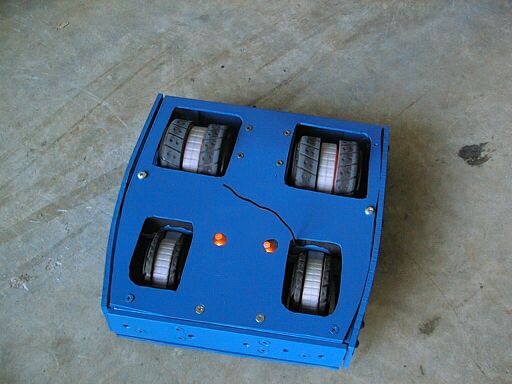
The top comes off after removing numerous screws and cutting a couple of wires that go to some lights. The two side covers also come off the same way. The
drive motors are in two pods and gears and another motor turn the pods sideways so the car can do various acrobatic tricks. |
|
|
|
|
|
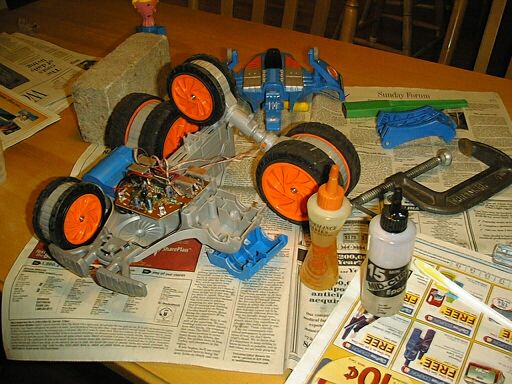
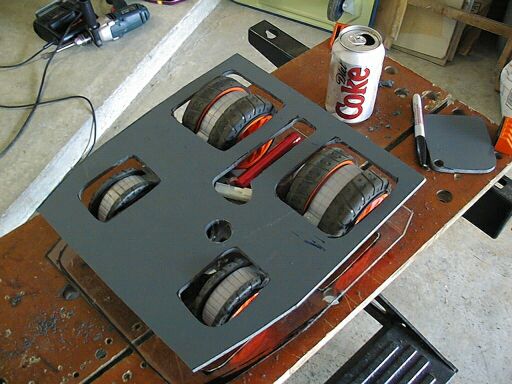
After removing the gears that turn the pods and cleaning the surfaces the pods are glued solidly back into position with copious amounts of 15 minute epoxy.
Use 5 minute if you have it as 15 minutes is a long time to hold the parts together! |
|
|
|
|
|
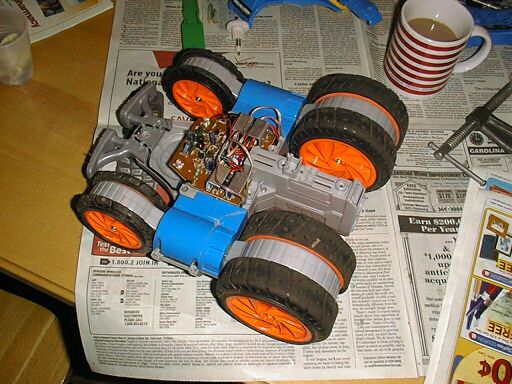
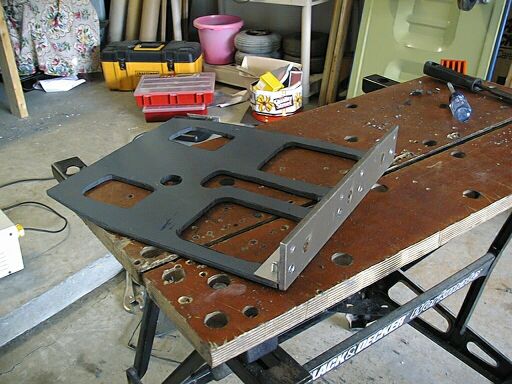
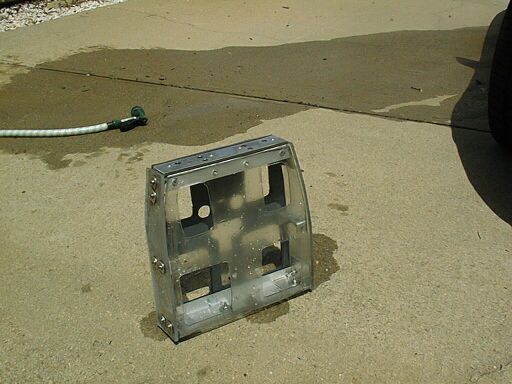
Thats the chassis ready. Next task is to put together an armoured shell with hinged wedge and spikes. At less than 3lbs so far we have plenty weight left.
Performance is suprisingly good and it should handle the extra weight well. |
|
|
|
|
|
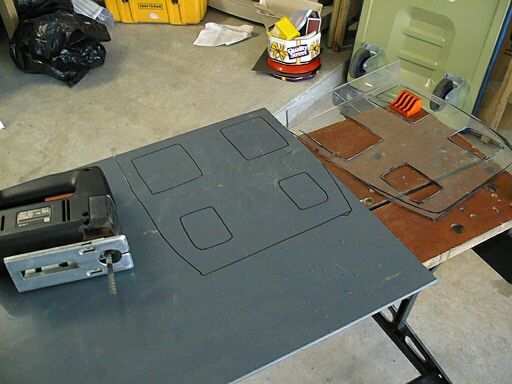
We searched through the scraps bin and found a piece of 3 mm Lexan that had been a machine guard in an earlier life and a bigger piece of ABS sheet. I got
this after they had closed the tool room back at IBM in Scotland and have been saving since then. Its a second best to Lexan but at 5 mm thick should be plenty strong enough for a 12
lber. A quick free hand sketch and some work with a jigsaw resulted in a top
and bottom panel. |
|
|
|
|
|
|
|
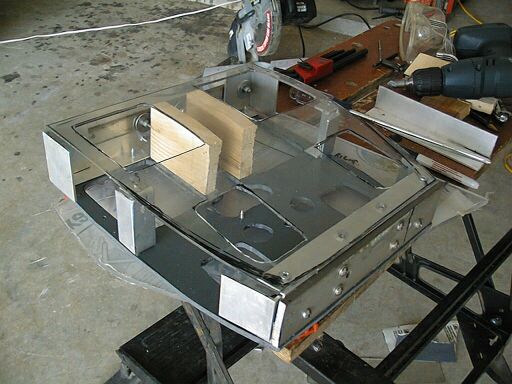
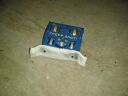
The Battery cover shown was removed and holes cut in the base to access the battery pack and the on/off switch. |
|
|
|
Assorted pieces of aluminium angle and bar were cut to size to attach the top and bottom together at the rear and wood spacers cut to fit either side of
the battery ant at the rear sides.. |
|
|
|
|
|
|
|
|
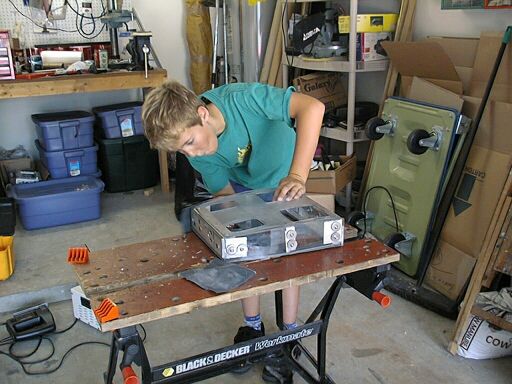
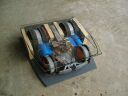
A top view showing the RC chassis inside the armour. We used sheet metal screws for attaching the plastic to the aluminium and "Deckmate" wood screws
for into the wooden blocks. The wood screws I had and the sheet metal ones I bought for the first expense of the project.....$4.75. Total weight is now just less than 5 lb. Another couple
of hours work should see it finished and there's plenty weight allowance for spikes, wedges etc. if desired. |
|
|
|
|
|
13 July 2003 |
|
|
|
|
|
|
|
|
|
|
|
|
|
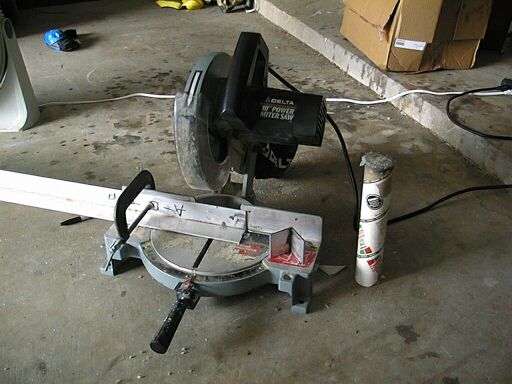
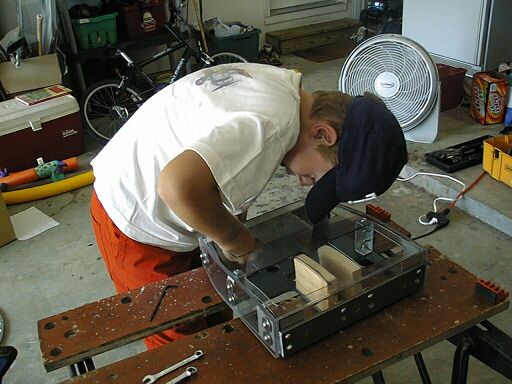
To mount the side armour I cut some brackets from Aluminium angle using an Aluminium/plastics blade in my Mitre Saw. The stick of wax is used on the
blade before each cut. It is noisy, messy and you have to be carefull not to cut too fast but it works well. |
|
|
|
I wasn't happy with the side wooden blocks so they were replaced with brackets formed up from a piece of angleand mounted to the chassis with self
tapping screws. |
|
|
|
We have entered the 12lber (now named "Cheap Shot" into the Robot Assault Competition in August and might meet the ICE powered "Flight
Risk" so good side armour is a must. 1/4" Lexan is secured using screws and penny washers. |
|
|
|
|
|
After a long day working on Cheap Shot and Xtreme impaX (and tidying up afterwards!). The weight of Cheap Shot is now up to 7 1/2 lbs so plenty left for a
little extra armour, perhaps a second battery and with some left over for fight-specific items like wedges, scoops etc. |
|
|
|
|
|
|
|
|
We countersunk the front screws to give us a flat mounting surface for any added armour or weapon
. |
|
|
|
We gave the exterior of the bot a sanding with 400 grade paper. |
|
|
|
A few coats of Krylon "Fusion" Paint gets it into Team Colours. |
|
|
|
|
|
|
|
|
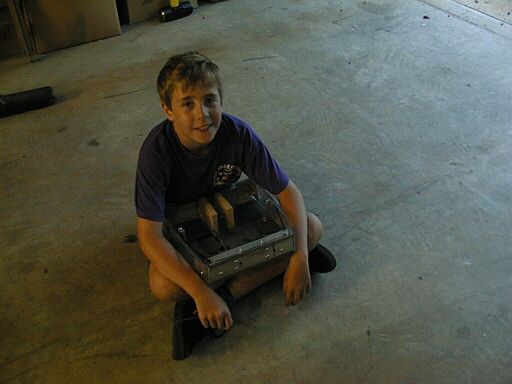
Andrews small hands help in getting the washers and nuts on the front mounting screws. |
|
|
Then degreased and rinsed it to remove any oil or grease. The hot NC sun soon dried it. |
|
|
|
Model Magic is an incredibly light material that dries first to a bouncy rubber and then to a stiff foam. |
|
|
|
|
|
|
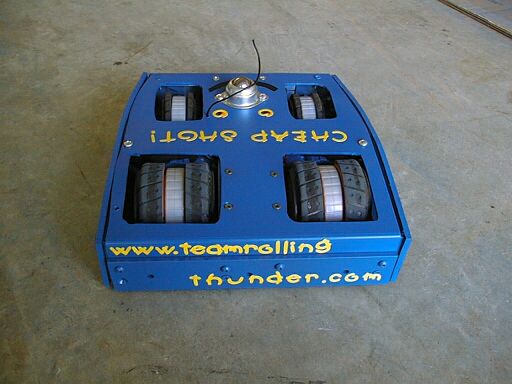
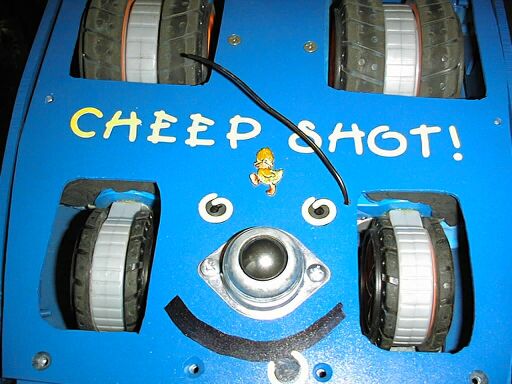
The Model Magic was used to pack around the chassis to reduce stress on the mountings and absorb shocks. Within 24 hrs it will be a firm rubber and after
about a month it will be a solid foam. We had masked two small circles where the power on LED's were under the top Lexan so that they formed two "eyes". |
|
|
|
|
|
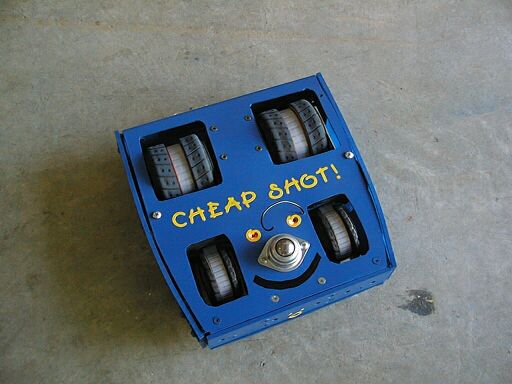
With the bot virtually complete we road tested it. Frankly it was very disappointing. The extra weight made turning next to impossible, the gears made some
nasty slipping noises.and battery life was very short! Straight line speed was OK so we tried fitting a couple of spare ball castors from Xtreme impaX, one on the top and one on the bottom.
Performance was transformed. It now turns on a sixpence (dime) and has a battery life of at least five minutes. We are still getting a few grinding noises from the gears but they don't
seem to be getting any worse. I checked on Amazon.com and the original RC model is about $30 so I think we will get a spare drivetrain! A set of self adhesive letters from a local craft
shop were used to add the bots name, our team website address and a few "emoticons". The smiling face with ball castor as a nose worked out very well. |
|
|
|
|
Cheap Shot is not quite finished. We need to make an assortment of add-on scoops and wedges and maybe some extra heavy armour so that we can configure it to each
opponent. These can't weigh too much or the strain may be too much for the drivetrain so a limit of about 2 lbs will have to be set. The paint, Model Magic, lettering etc. have added another $20 or
so to the cost for a total of about $25. This does not account for all the parts we already had in our spares and junk boxes but even so its been a cheap build. It will be interesting to see how well
it does at Robot Assault in August. If nothing else it has been a fun project for my Son and I and we have both learned a lot from it. |
|
|
|
August 20, 2003 |
|
|
|
|
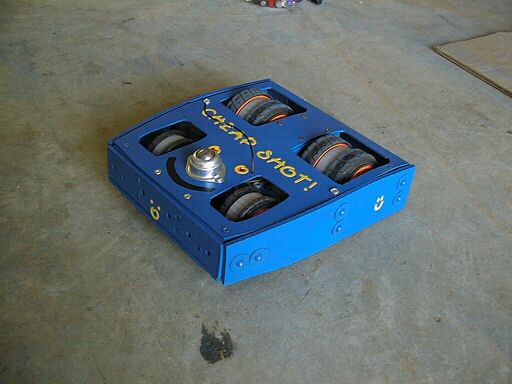
I found out that there has been a "Cheap shot" middleweight once so we modified the name and added a appropriate Duck! |
|
|
|
|
|
|
|
|
|
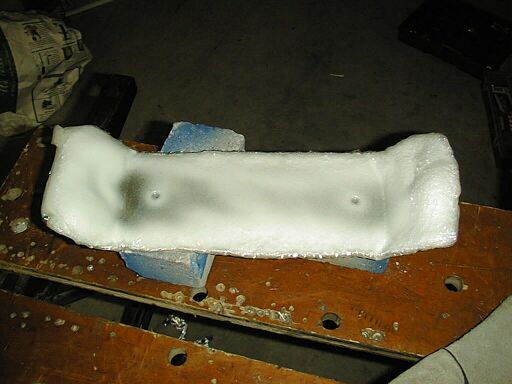
We cut a 10mm thick Lexan scoop for the front of "Cheep Shot" and intended to bend it after heating in the oven,15 minutes at 375F resulted in
the "foamed" Lexan shown. The lesson learned is to "dry" the Lexan first (not sure how to do that though!) as its the absorbed water that turns to steam and forms the
bubbles. It is however still very tough and will make an interesting scoop when trimmed a bit. |
|
|
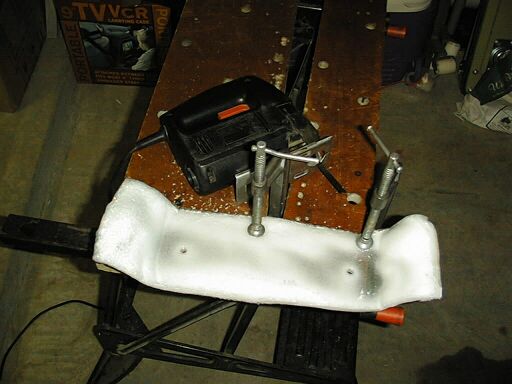
The Foamed Lexan was cut back to the correct width using a Jigsaw. It cuts easily, being less dense than the original strip but remains very tough and
should work reasonably well. |
|
|
|
The Scoop is bolted to the front with a couple of M8 hex head bolts. It should help in letting Cheep Shot survive the first couple of hits from the
likes of "Flight Risk" etc. The robot now looks more like some sort of mutant insect. |
|
|
|
|